
Post Thumbnail Editor
3 April 2013Categories: Wordpress
With your custom theme, you may be able to display images in different areas of your site and, more importantly in different sizes, also known as thumbnails. WordPress does its best to create thumbnails which are appropriate but sometimes you’ll need to manually amend where WordPress crops an image so that it displays exactly as you need it.
To explain what the issue is and how we can solve it, we’ll take the following image as an example.

This image is 400 pixels wide and 267 pixels high. When WordPress uses a thumbnail, it will make a best guess at what you want to display. So if the thumbnail is 150 pixels by 150 pixels and it will centre the viewport to give us:
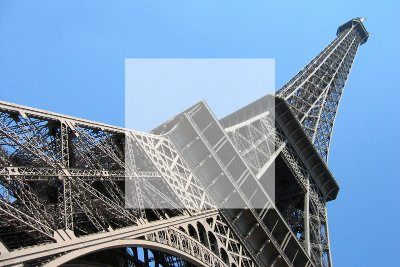
When displayed, the image will look like:

This seems fine but it would be nicer if we could use the top of the Eiffel Tower as our thumbnail. Ideally we want our viewport to be located as follows:
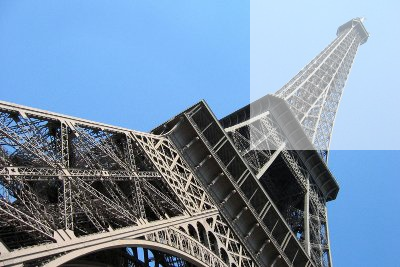
Which would give us the better thumbnail of:

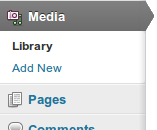
The Post Thumbnail Editor plugin allow us to choose the viewport and therefore how a thumbnail is displayed. To use it, navigate to your Media which is located on the left hand side of the Dashboard.
You’ll be presented with the various images used in your website. If you move your mouse over one of these images, a small menu will appear where there is an option for “Thumbnails”
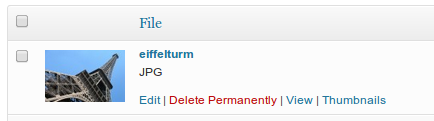
Clicking this will take you to the Post Thumbnail Editor
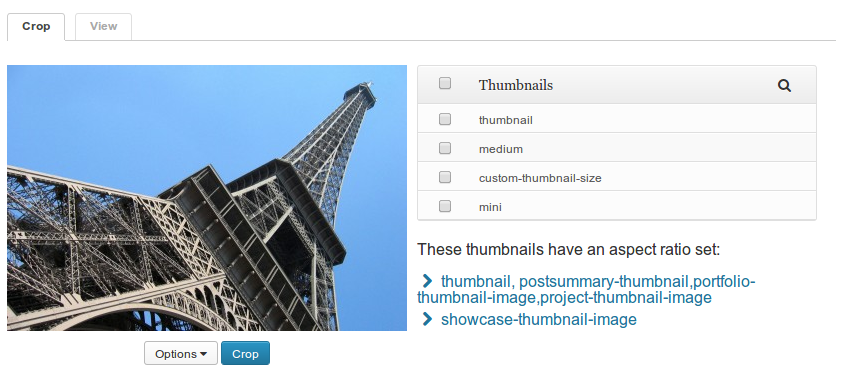 With your theme, you will be given information about the thumbnails available and where they are used on your site so you will know what you should select when coming to this screen. In the example, we’ll assume that “custom-thumbnail-size” is to give us a thumbnail of 150 pixels by 150 pixels.
You can now drag your mouse over the image and select the area you wish to use as the viewport for the thumbnail.
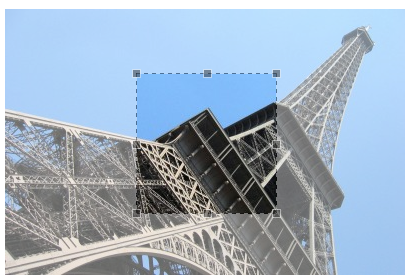 The editor will use the appropriate aspect ratio when you select the area. The thumbnail in this example is 150 pixels by 150 pixels, so the ratio is 1:1 which results in a square being used for the viewport. As well as drawing the viewport, you can drag it around to move it to the place you want.
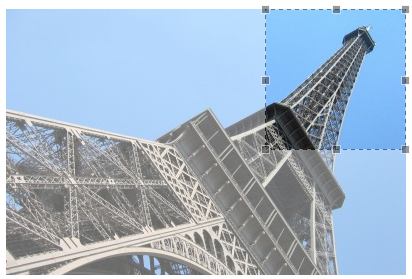
Once you’re happy with the area that you want to use for the thumbnail, you can select the thumbnail you wish to use this for in the right hand table by checking it.
![]()
Then you can click the “crop” button underneath the image to see your proposed thumbnail.
![]() You will then be presented with your newly created thumbnail and give options to either compare it with how the thumbnail looked originally,
You will then be presented with your newly created thumbnail and give options to either compare it with how the thumbnail looked originally, ![]() save it
save it ![]() or delete it and start again
or delete it and start again ![]() .
.
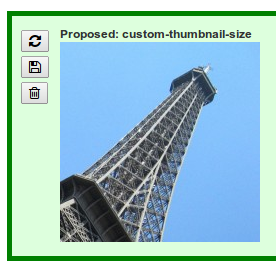
When you next see your image, it should be displayed exactly as you want!